This is an old revision of the document!
Dispensing
Dispensing mode only shows if the store is configured correctly on the server. Read how here
Patients
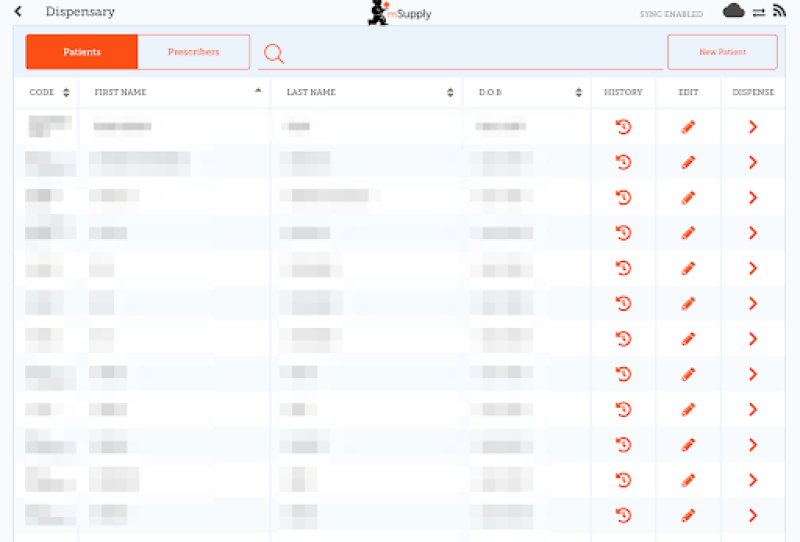
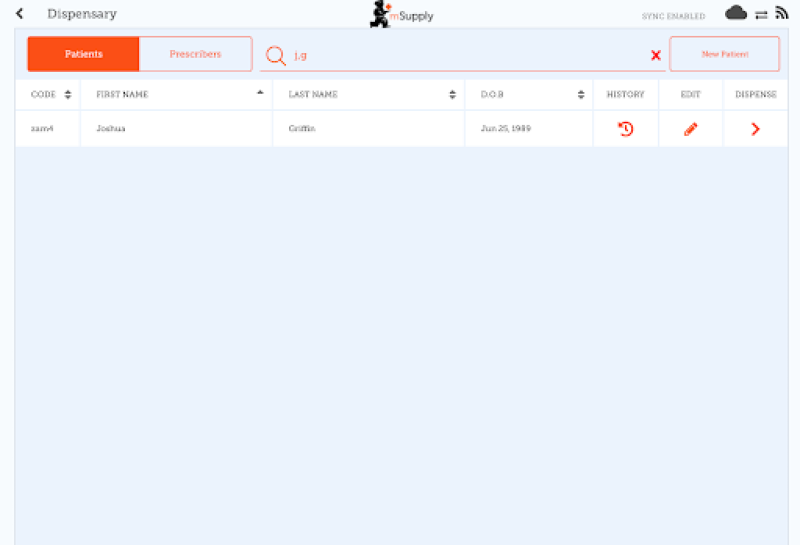
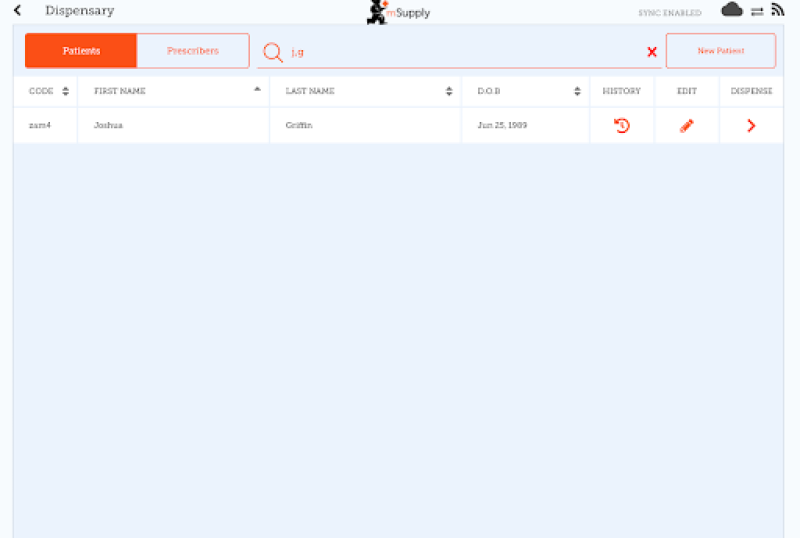
When you tap the Dispensary icon you will get a list of your patients. You can search for a particular patient using the field in the search bar.
TIP: you can search by first and last name by using a comma. For example: g, j will search for all patients whose last name starts with G and first name starting with J.
Adding a new Patient
- To create a new patient, tap the New Patient button.
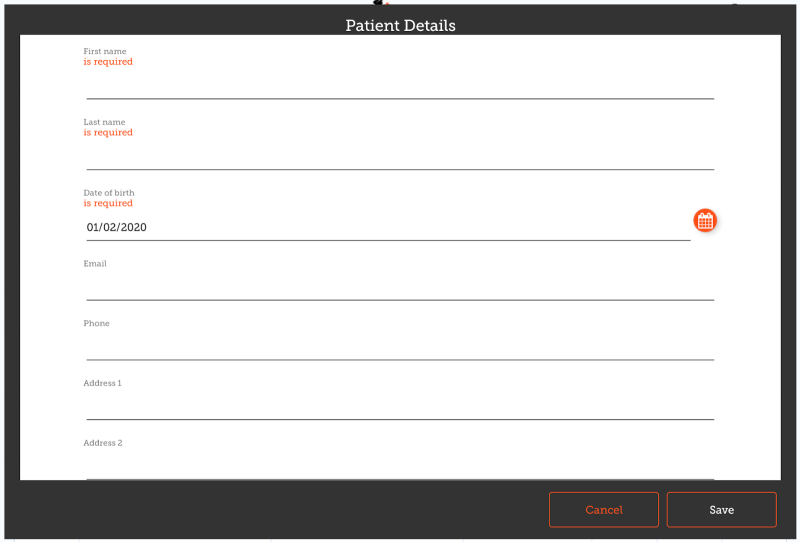
- You’ll see a new window.
- The fields marked with IS REQUIRED are fields which must be filled in.
- The other fields are optional.
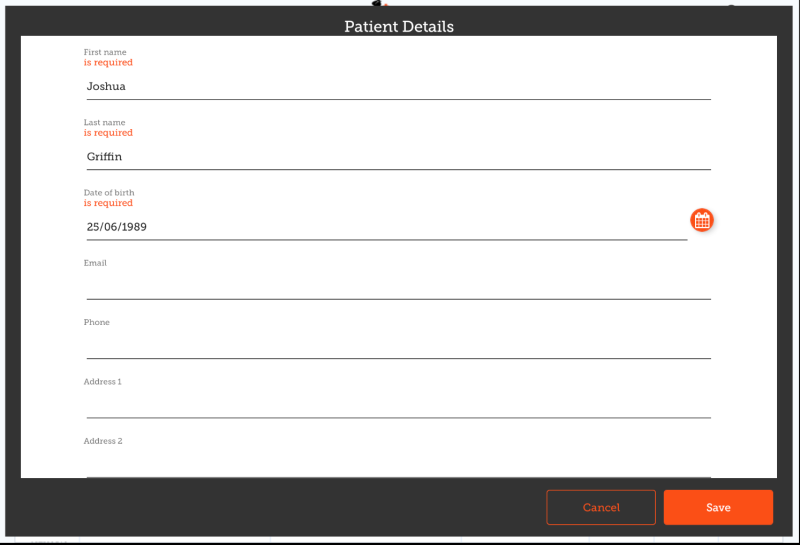
- The Save button will only be enabled if you have filled out all the required fields.
- Once you have entered all the details that are required, tap the SAVE button.
Editing a patient's details
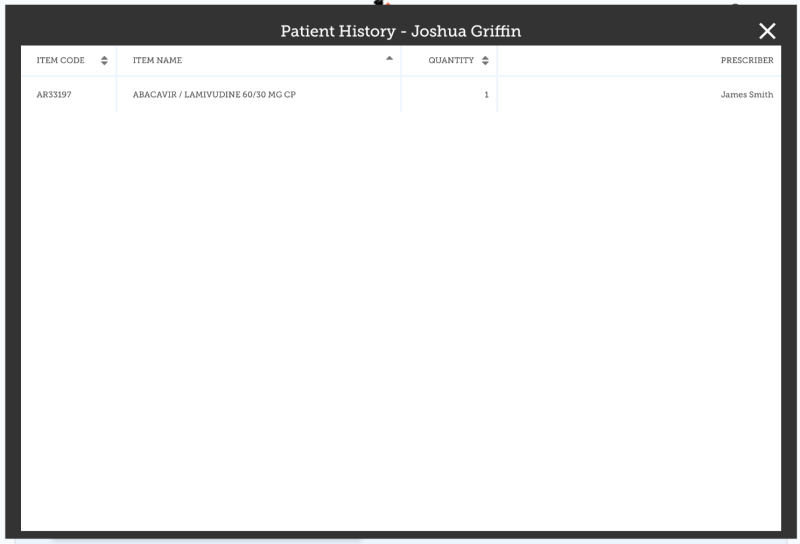
Viewing a patient's History
Prescribers
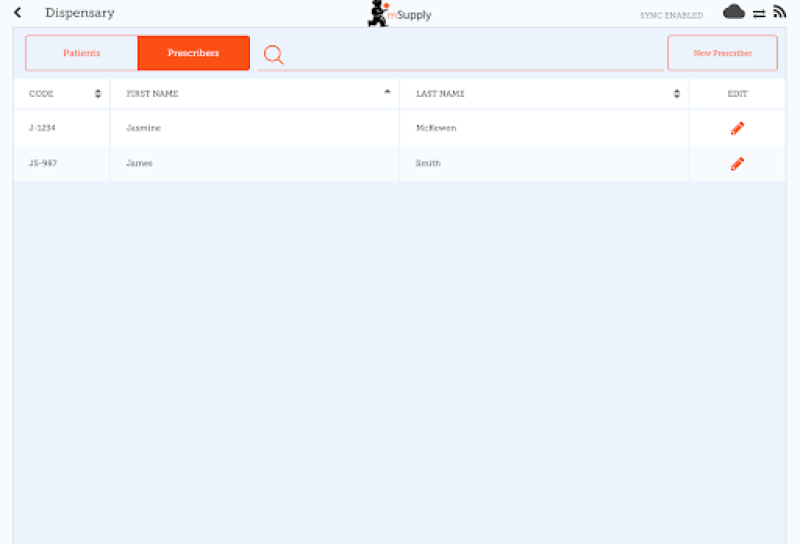
You can show, add and edit prescribers in just the same way as you do for patients.
Simply tap the “Prescribers” toggle button at the top of the window:
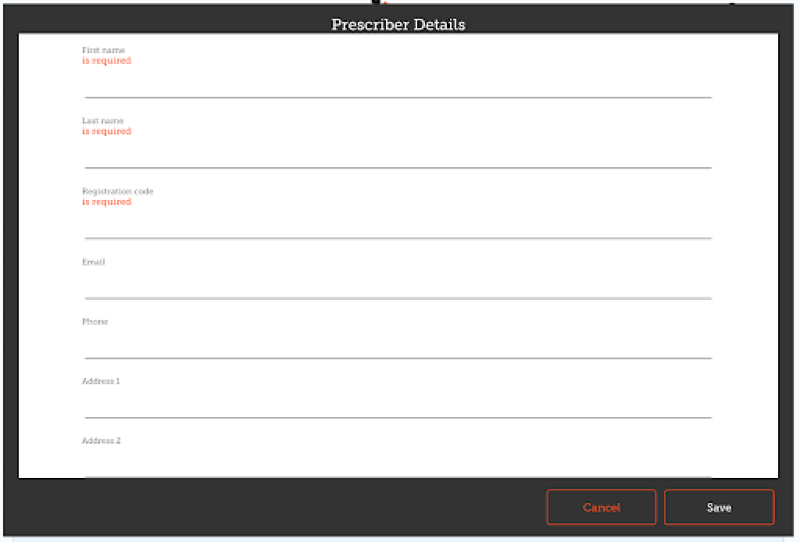
To edit a prescriber, tap the edit (pen icon) button for the row you wish to edit. You're then shown the presriber's details:
As for patients, only when you've entered all the required fields you'll be able to save the record.
