This is an old revision of the document!

Setting up mSupply Mobile - on the Server
The following details the steps of setting up mSupply from your organisation's mSupply Server
Note - the mSupply Support Team will complete these steps for you.
The following instructions are for your information only.
As of 2019-10-24, this process is largely manual, with sync sites and stores needing to be created by an operator, one-by-one with a few small bits of code to make some of these processes quicker and more reliable. There is a plan to develop a tool by which virtually all of the process can be automated. Even with such a tool, at least the following information will need to be provided manually:
- Store name
- Customer name from which the store is being created (normally the case)
- Item master list controlling visibility for the store
Requirements
- A server running mSupply with a web server license registered
- Sync server has a static IP and any network permissions required configured
- A mobile tablet fitting the recommended specifications here
General approach
EACH mobile store needs to have these:
If the stores being created from existing customers in an existing mSupply system, then an additional step needs to be carried out: Merge the existing customer name with the new store. There is some footrunner code that can facilitate this for multiple sites - see 2. Create store from existing customer name using store_create_from_name, below.
However, Any unfinalised CIs from supplying stores to these existing customers need to be finalised first. On a system with supplying stores on multiple sync sites, this can take a long time. Start early, and if possible, ask the supplying stores to refrain from creating new CIs until the merging is done…
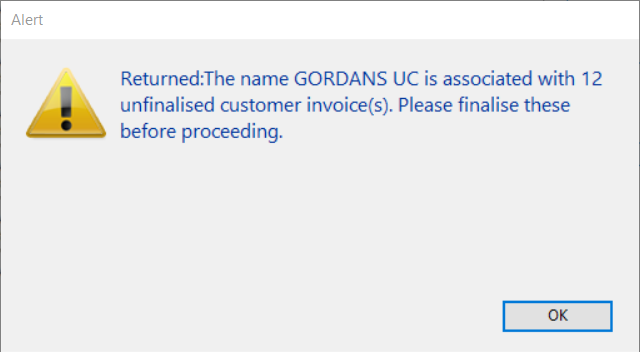
If you try to do the merge before finalising unfinalised customer invoices, you will get an error message, and as that message indicates, the merge will not proceed:
| Return to: Setting up mSupply Mobile |
