Ceci est une ancienne révision du document !
 Cette page n'est pas encore traduite entièrement. Merci de terminer la traduction
(supprimez ce paragraphe une fois la traduction terminée)
3. Créer le dépôt
Une fois que le site de synchronisation a été configuré, il y a trois approches pour créer et configurer le dépôt qui opérera sur ce site.
- Cela peut être fait «manuellement» comme décrit dans la première méthode ci-dessous. Cette méthode convient si vous ne créez qu'une poignée de dépôts.
- Si vous créez un grand nombre de dépôts, il est plus approprié d'utiliser l'une ou les deux méthodes de code footrunner.
- Au 2019-10-24, il y a deux morceaux de code footrunner qui peuvent accélérer ce processus - voir Créer des fichiers de données pour plusieurs nouveaux sites distants. Ils ne peuvent pas être utilisés ensemble pour le même dépôt, mais il peut être approprié d'utiliser store_create_from_name pour la création d'un seul dépôt, puis utiliser sync_clone_sync_site pour créer les dépôts additionnels.
3.01. Créer un dépôt manuellement
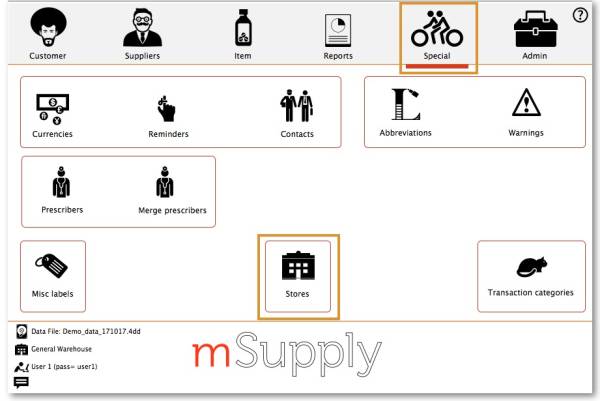
- Sur la version mSupply desktop allez à Spécial > Dépôts > Nouveau dépôt

- Saissisez le code et le nom du dépôt
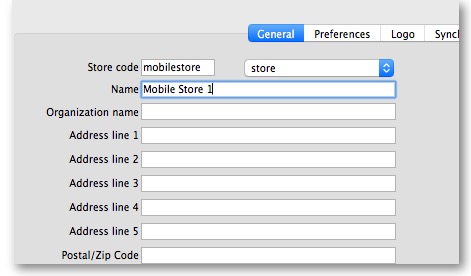
- Le code du dépôt ne peut pas inclure d'espaces
- The Store Name needs to be something that users will recognise.
Mobile Store 1is not likely to be a good name to use.


3.02. Create store from existing customer name using store_create_from_name
Use the footrunner code store_create_from_name. This method is only useful if you already have a customer and you want to convert it to a store.
- Run
store_create_from_nameto clone the original store. You will need to provide:- Name ID (not name Code
 ) to create the store for (must not be blank or already a store)
 - Store mode for new store (one of
store,dispensaryorreport). Almost always, this should bestore - Sync ID for site on which the new store will be Active (optional; if left blank, will default to the current site ID)
3.03. Create store by cloning another sync store using sync_clone_sync_site
Use the footrunner code sync_clone_sync_site. Under this method:
- Manually create and appropriately configure a single store.
- Make sure the relevant sync sites have been created (above) and then, for EACH store:
- Run
sync_clone_sync_siteto clone the original store. You will need to provide:- Sync ID for source sync site
- Sync ID for clone sync site
- sync version (v1 for desktop, v3 for mobile)
- Decision on whether the cloned store will have 'group' store visibility (visible to all other stores with the same supplying store) or not
- Decision on whether to also clone locations, transactions, stock, requisitions. (almost always NO!)
- new store code and name for each cloned store
- new user name and password for the each cloned store's default user
- If there are actually existing customers for each of these stores, you will need to merge the existing customer name with the new store
- The store will have the same item visibility configuration as the store that has been cloned. Review, and if necessary, Configure items visibility for the store
- The store will have the correct 'basic' sync settings. Review, and if necessary, Configure synchronisation settings
- The store will have the correct 'basic' store visiblity settings, including, if you have selected it, 'group' store visibility. Review, and if necessary, Configure store visibility to other stores