This is an old revision of the document!
Setting up mSupply Mobile - Server side
The following details the steps of setting up mSupply from your organisation's mSupply Server
Note - the mSupply Support Team will complete these steps for you.
The following instructions are for your information only.
As of 2019-10-24, this process is largely manual, with sync sites and stores needing to be created by an operator, one-by-one with a few small bits of code to make some of these processes quicker and more reliable. There is a plan to develop a tool by which virtually all of the process can be automated. Even with such a tool, at least the following information will need to provided manually:
- Store name
- Customer name from which the store is being created (normally the case)
- Item master list controlling visibility for the store
Requirements
- A server running mSupply with a web server license registered
- Sync server has a static IP and any network permissions required configured
- A mobile tablet fitting the recommended specifications here
General approach
EACH mobile store needs to have these:
If the stores being created from existing customers in an existing mSupply system, then an additional step needs to be carried out: Merge the existing customer name with the new store. There is some footrunner code that can facilitate this for multiple sites - see 2. Create store from existing customer name using store_create_from_name, below.
However, Any unfinalised CIs from supplying stores to these existing customers need to be finalised first. On a system with supplying stores on multiple sync sites, this can take a long time. Start early, and if possible, ask the supplying stores to refrain from creating new CIs until the merging is done…
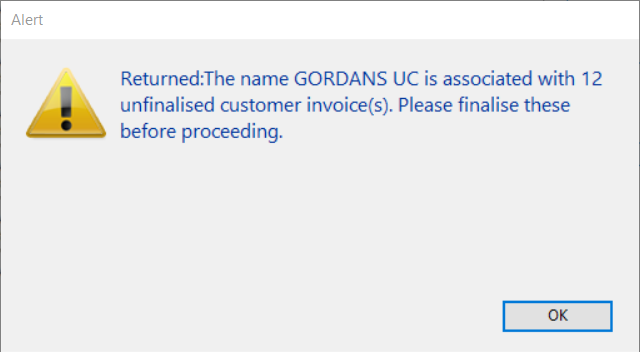
If you try to do the merge before finalising unfinalised customer invoices, you will get an error message, and as that message indicates, the merge will not proceed:
Create Sync Site
The first step is to create the sync site that the store will be 'Active' on.
As of 2019-10-24, this process is manual, with sync sites needing to be created by an operator, one-by-one.
- Click OK
- Keep track of the password! If it is lost you'll have to resynchronise from scratch!
- Sussol will typically have them securely stored if Sussol has done the sync setup.
Create and configure store that will be operated on the mobile device
After the sync sites have been set up, there are three approaches to creating and configuring the store that will operated on that site.
- This can be done 'manually' as described in the first method below. This method is suitable if you are creating only a handful of stores.
- If you are creating a larger number of stores, then it is more appropriate to use one or both of the two footrunner code methods. As of 2019-10-24 there are two pieces of footrunner code that can expedite this process - see Creating data files for multiple new remote sites. They can not be used together for the same store, but it may be appropriate to use store_create_from_name for creation of one store, and then use sync_clone_sync_site to create subsequent stores.
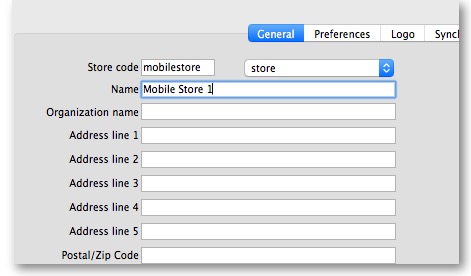
1. Manually create store
2. Create store from existing customer name using store_create_from_name
Use the footrunner code store_create_from_name. This method is only useful if you already have a customer and you want to convert it to a store.
- Run
store_create_from_nameto clone the original store. You will need to provide:- Name ID (not name Code
) to create the store for (must not be blank or already a store)
- Store mode for new store (one of
store,dispensaryorreport). Almost always, this should bestore - Sync ID for site on which the new store will be Active (optional; if left blank, will default to the current site ID)
3. Create store by cloning another sync store using sync_clone_sync_site
Use the footrunner code sync_clone_sync_site. Under this method:
- Manually create and appropriately configure a single store.
- Make sure the relevant sync sites have been created (above) and then, for EACH store:
- Run
sync_clone_sync_siteto clone the original store. You will need to provide:- Sync ID for source sync site
- Sync ID for clone sync site
- sync version (v1 for desktop, v3 for mobile)
- Decision on whether the cloned store will have 'group' store visibility (visible to all other stores with the same supplying store) or not
- Decision on whether to also clone locations, transactions, stock, requisitions. (almost always NO!)
- new store code and name for each cloned store
- new user name and password for the each cloned store's default user
- If there are actually existing customers for each of these stores, you will need to merge the existing customer name with the new store
- The store will have the same item visibility configuration as the store that has been cloned. Review, and if necessary, Configure items visibility for the store
- The store will have the correct 'basic' sync settings. Review, and if necessary, Configure synchronisation settings
- The store will have the correct 'basic' store visiblity settings, including, if you have selected it, 'group' store visibility. Review, and if necessary, Configure store visibility to other stores
Making items visible to the new store according to a Master List
Setting up correct synchronisation settings
If you have used store_create_from_name for creation of the store, and you have specified the sync site that the store will be Active on, then all you need to do here is:
- Change the Synchronisation type for this store on the Primary Server to Collector if so desired (normally the case)
- Configure this new store's Sync type to be Transfer or Active/Collector for any other sync sites that need to deal with this store.
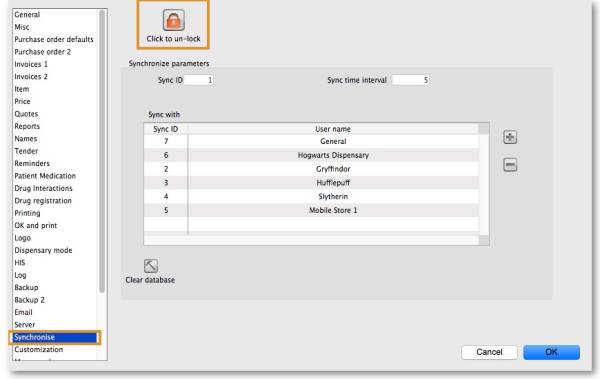
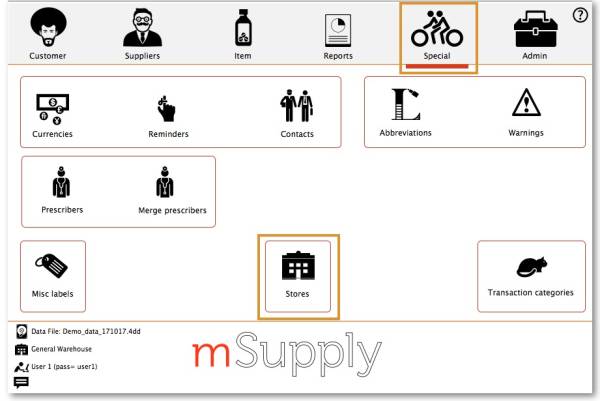
- Edit store synchronisation settings (Special > Show Stores > Double-click on store > Synchronisation > Click to Unlock, enter code to edit):
- Set Synchronisation type at the top to
Collector - Click OK
Configure visibility to other stores
- Edit the 'name' associated with the store and configure visibility to other stores appropriately
Setting up User Access to the store
Unlike mSupply Desktop, mSupply Mobile does not need or use individual user permissions for the various activities within the store. All that is required is for the user to have login rights to the store.
Setting up Store User Access
This step has already been carried out if you have used method 3. Create the store by cloning another sync store using sync_clone_sync_site. Don't do it again!
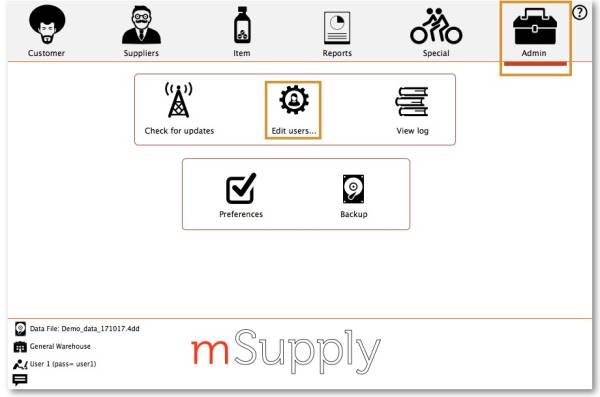
At least one store user needs to be set up to have have access to the new store on the Primary server. Even though the user will access the store from the device, their credentials need to be set up on the Primary server - refer managing users.
For convenience when using a tablet:
- Only use lower-case letters for both username and password
- Consider using short usernames and passwords
Setting up admin User Access
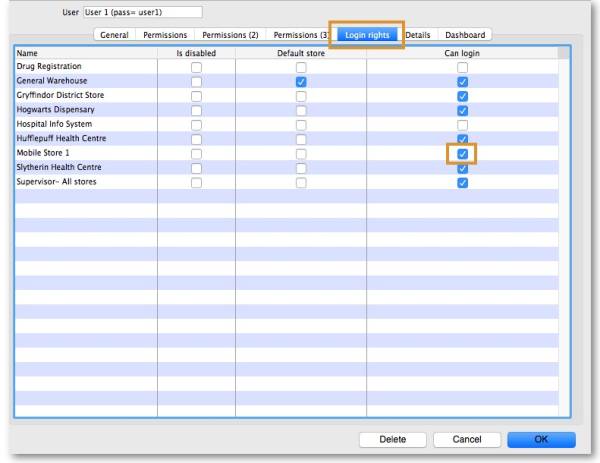
At least one admin user needs to be set up to have have access to the new store on the Primary server. This user will normally be the Sussol user that has set up the new store, but there could well be other local administrators that need access.
- Select the new Store
- Click OK
Verify that the store is working
- Check that the right items are visible
Start the web server
Sync will not start until you have started the web server!
